Another year, and another fantastic Festive Tech Calendar. While it wasn’t the first event I participated in, I do think it is my longest running, annual event. I have been a fan since it’s inception and am delighted to see it continue. This year, the team are raising funds for Beatson Cancer Charity. Donations are appreciated via the Just Giving page.
Now, this post is all about Azure AI adoption via the new offering of Azure Essentials. So, we will start off by explaining what that is and why it matters. Over the years, Microsoft has introduced new ways of doing things, new approaches or methods; sometimes these have been simple renames, and sometimes they have been a completely different vision of Azure. Often, they can be confusing regardless. This post aims to help understand Azure Essentials better, using the “tech of the moment” Azure AI.
So – let’s get started. What exactly is Azure Essentials? As we’re working related to AI, let’s set the scene using Copilot…
Copilot for M365 in Teams (please don’t @ me about the structure of that name, I cannot keep up with how to reference Copilot!) was helpful:

Copilot in Azure…not so much:

What you need to take away at this stage is, rather than this being an entirely new thing, it has consolidated existing good work to allow for the consumption of it to be simpler or more refined. At a theory level this seems to make sense, however, we all know the implementation of these things can be very tricky.
With this in mind, how to use or approach Azure Essentials shifts a bit. The first point that struck me was this is most useful for people new to Azure. However, that is not to say it is not useful for those experienced. But if you are new, we have a lot of assumptions that people will know and make use of offerings like CAF and WAF, will reference the Architecture Centre for design guidance, etc. When that is likely not the case.
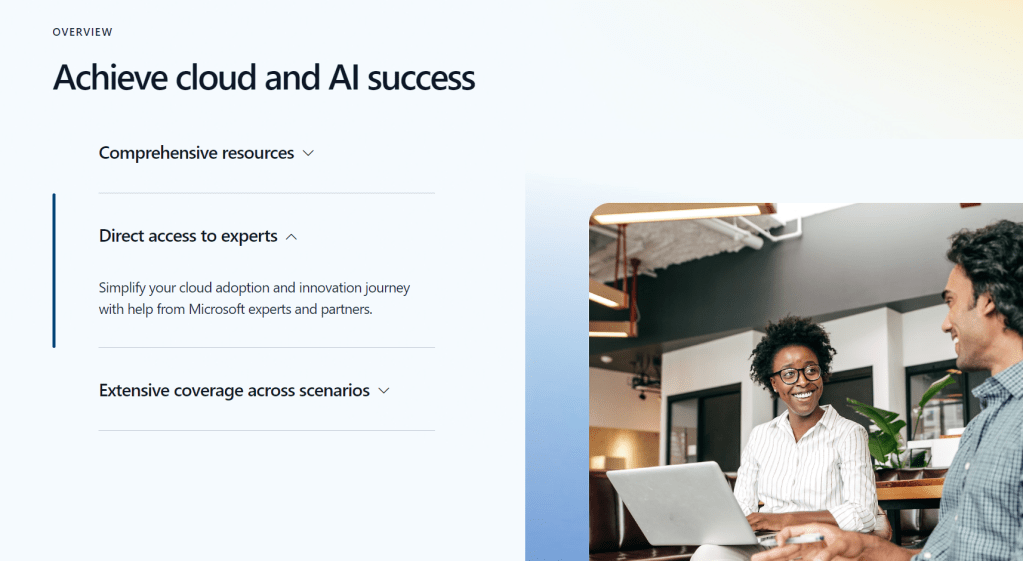
Centralise core guidance as Azure Essentials is a great idea in my opinion. However, it hasn’t just centralised guidance. Disclosing at this point that I work for a Microsoft Partner. Essentials also includes recommendations for finding a partner, leveraging funding programs, which products are useful, and customer testimonials. This is nice for companies like mine as a marketing/contact channel, but I am not sure if I would define it as “essential”.
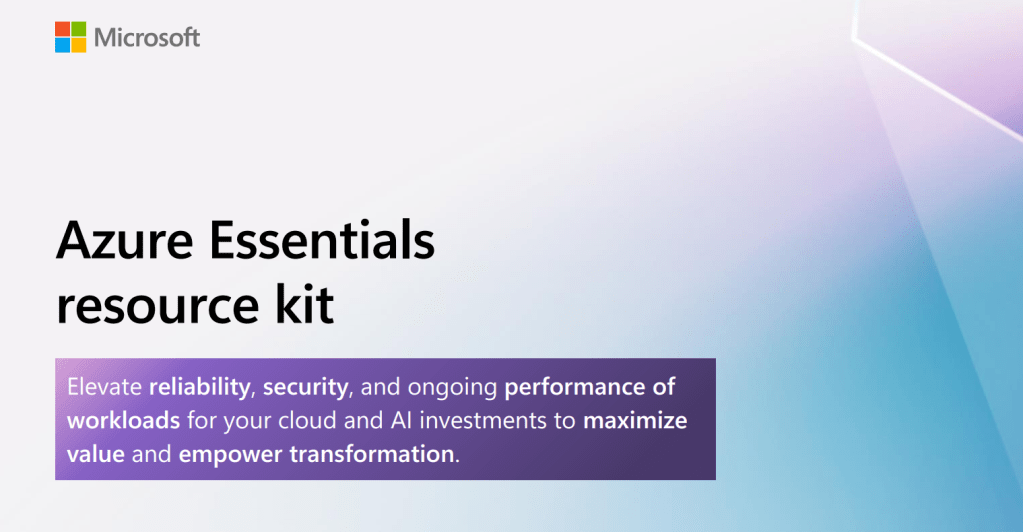
What is essential though is how it frames guidance and aligns customers into the right frame of approach in my opinion. The site is a touch confusing on this point though. So the new resource kit is right at the top, it’s the first link on the page. But scenario or use case guidance is further down and brings you elsewhere. Sticking with our original idea regarding AI adoption, there is a use case listed, and this brings you to an Azure Architecture blog from July – this is not what we want…

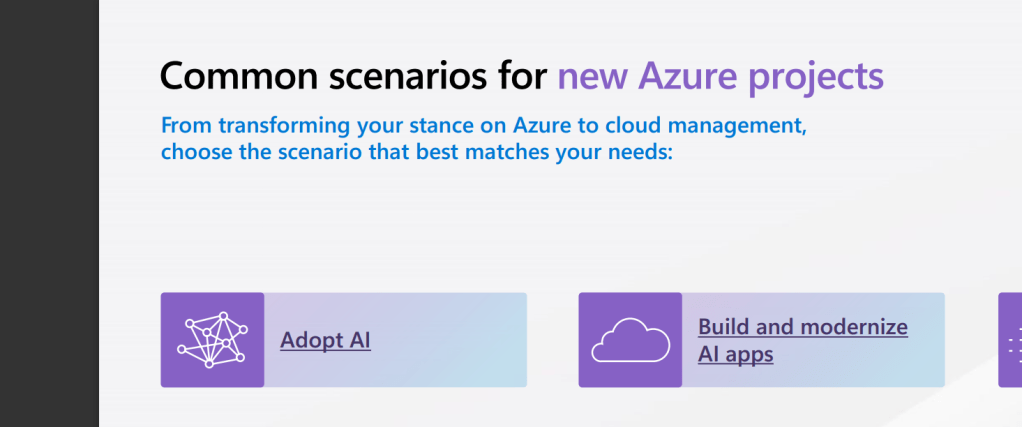
Whereas if we open the Resource Kit, then check it’s contents, we get a ‘common scenario’ with click through links

Now before we dig in there, one item I noted when researching this was that some messaging implies, or potentially confuses some elements of this with changes to, or improvements upon the Cloud Adoption Framework (CAF). In my opinion, Azure Essentials doesn’t change CAF, it’s not even listed on the What’s New page. However, it is an improvement to how people may be guided to CAF. And anything that brings more people to CAF and allows for efficient and more well governed deployments is a positive to me!
So, what exactly does Essentials recommend then as it’s ideal detail required for AI adoption? Six steps and some learning material. I am delighted to see the inclusion of learning material, its becoming more and more important as the rate of change increases. Let’s have a look at the six steps:
- Assess your Azure AI readiness
- Explore Azure AI pricing
- Prepare your AI environment
- Design your AI workloads
- Develop Well-Architected AI workloads
- Deploy, Manage, and operate your AI workloads
At first glance this looks like a good set to me. I don’t think I would have ranked pricing as high in the sequence, but perhaps it’s important to get that out of the way early! 🙂
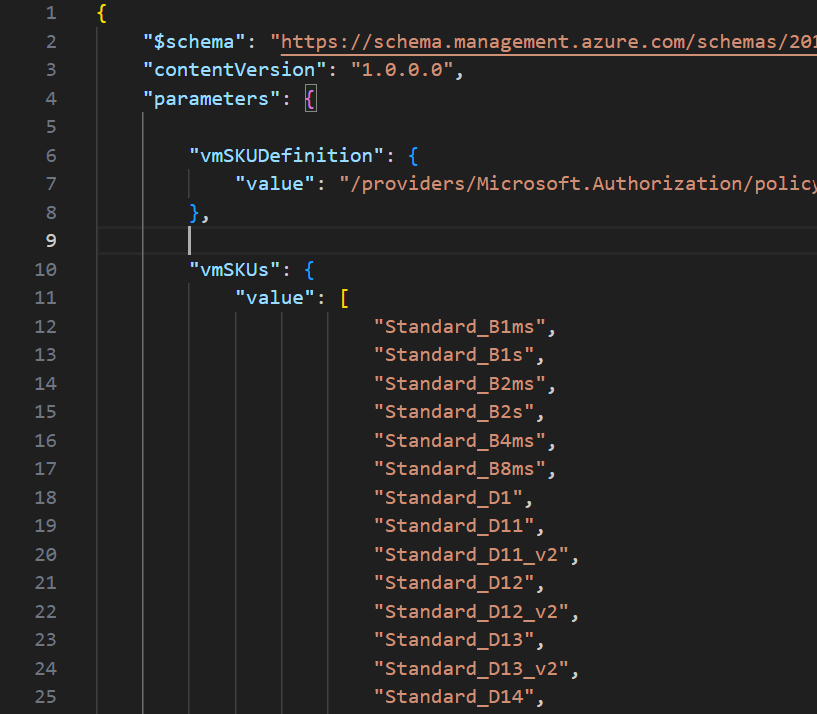
The first ask is here is to take an Assessment. The Azure AI readiness assessment focusses on core areas of adoption strategy within your business. It can be a lengthy process, it notes 45 minutes, but if you choose all of the areas available, it will give you 100+ pages of questions to complete to attain your score. Anyone familiar with Azure Well Architected Reviews, or the old Governance Assessment will see the immediate similarities here and understand the usefulness of having something that asks people to think about things in the correct way and offers a score to guide expectations.
Next, it’s pricing. Again, this is tricky for me. To be remotely accurate with pricing, I think you need to have some form of design to then dictate resources, which lead to price. You are then happy, or shocked, and rework your design. Rinse repeat to get to where you need to be. Unfortunately, the link in the resource kit lands you on the default pricing page for Azure, nothing AI specific. So you really are starting at the bottom. Some more AI specific guidance here would be a great inclusion for the next version. For example, this placement link, bring you to the menu item for AI pricing on this page, a small but helpful direction.
Next, we’re onto preparation. A good note on a Landing Zone, but I would have expected as this is Azure Essentials that would link through to some guidance on Landing Zones. We then get two links to Design Architectures for Azure AI in the Architecture Centre. This could be more confusing than helpful, and it’s not the preparation guidance I would expect. This is Azure Essentials, and here is the first AI architecture Visio you see…
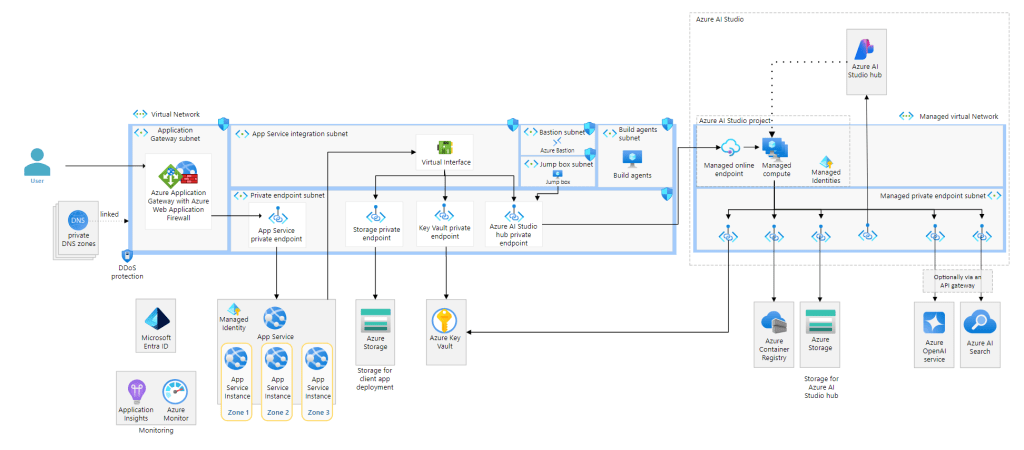
My concern here is complexity. I know people may have more interest in using OpenAI models and the whole chat functionality. But I would have gone a different route here. Most likely document based, something that uses one of the more mature services, like Document Intelligence, and a simpler architecture for guidance. Make it easier to see the objective rather than the mountain that is presented above. I don’t think there is actually a perfect set of links here, too many variables and too much information dependent on where the user perception of AI is. Will be very interesting to see how this progresses and it may always require further expertise and information to be properly impactful.
Next, design, one of my favourite areas. No other aspect of Azure excites me like creating the solution design. With a vast platform you start with everything and toil away until you have what works for what is needed. Here we get a note to choose from reference architectures – good point, but which ones? No links are provided, but having said that, there is no single link that works here. The reference architectures are spread out amongst the different products. Next, we get a great link to the AI architecture design overview page. I think I might have switched step 3 and 4 here actually. Doing this first, I believe it gives people a much better starting point to learn from and then understand point 3 more comprehensively. Bookmark this page for your AI adoption journey, it’s like a TOC of what to read for which service/product.

The penultimate step guides us to well architected workloads. The note is simply a note, however the point is valid but I think it should have included this link, as the start point for this step. It’s really useful and helps you quickly jump where you need to with reference to the Well Architected Framework (can anyone else just not call it WAF? Too confusing for me with Web Application Firewall). However the included link, which focusses on Azure OpenAI is good. It has the expected pillar guidance for Well Architected, and it has a comprehensive set of accurate click-through links. I think this step is important and placed in the right place too, so it flows well at this point of the resource kit.
Finally, we have a deploy and manage step. This feels a little bit like the weakest of the six steps. First of all the title is repeated as the first bullet point – not great.
Then it notes we should use best practice – again, no guidance as to what that means. Or how that is practically when it comes to deployment and management. Finally, it links to a guide page regarding responsible use of AI. Responsible use is incredibly important, it is valid when operating AI workloads, but it is useless as a single link for this step. There is a literal AI management page on CAF already that could be used. I have waited until this step to link to this area of CAF, as it hasn’t been updated since the start of 2024, but it has a lot of detail this kit should include, and with an update, would make much more sense than some of the links included.
In conclusion, I think the kit needs some work, a revision so to speak. First, I would tweak the steps to be as follows:
- Assess your Azure AI readiness
- Develop Well-Architected AI workloads
- Design your AI workloads
- Prepare your AI environment
- Deploy, Manage, and operate your AI workloads
- Explore Azure AI pricing
Next, I would rely more heavily on CAF and Architecture Center with context for links, or linking to overview pages with a note to use the links within. Like a ‘further reading’ note or similar. I know it is meant to be Essentials, but let’s give essential guidance rather than minimum perhaps?
Finally, if you want to adopt AI like a Pro – I think Essentials is useful as a sanity check, but you are better investing your time on the already existing items on Learn, CAF and WAF.