

If you’re familiar with Azure Firewall you would know that the introduction of an IP Group resource is most welcome. IP Groups are still in preview at the moment, so as usual be cautious on production environments as there is no SLA. However, it’s always nice to try out a service to see if it can work for you, or make your life easier.
IP Groups themselves are a relatively simple resource. They can contain a single IP address, multiple IP addresses, or one or more IP address ranges. They can then be used for DNAT, Network, or Application rules in Azure Firewall.
They currently have some interesting limitations that are a little bit confusing at first. From Docs:
For 50 IP Groups or less, you can have a maximum of 5000 individual IP addresses each per firewall instance. For 51 to 100 IP Groups, you can have 500 individual IP address each per firewall instance.
What this means is that while your rules should already be scoped accurately, you may need to use a couple of extra IP groups if you’re working with large address ranges. A simple example is a /16 will simply not work in an IP Group, /20 is basically your limit per IP Group.
I actually tried this on my own sub and it appears to actually work for now. Expect that to change as preview progresses.
If you’ve worked with Azure Firewall, I’m sure you’ve already thought of several places these rules can really help. For me, it was within Network Rule Collections.
However, as the service is in preview, there are a few aspects to be ironed out. Unfortunately, one of those is the ability to add an IP Group as a destination within a network rule when using the Portal. See below

UPDATE: As expected, this is now resolved! However, read on to see how to do this at scale.
At this point, I am going to flag extreme caution if your Azure Firewall is in production and you are trying this. It is very easy to overwrite all of your collections, take your time and export them before making any changes!
I’m a Windows guy, so I’m going to explain how to do this with Powershell, but it also works for CLI. Similarly, I’m showing a Network Rule, same process works for Application Rules.
First up, you need to all of the details for your Azure Firewall as we will work with it’s config as a variable and finally update it.
#Get the AFW I want to edit
$afw = Get-AzFirewall -Name wda-afw-test -ResourceGroupName rg-wda-afw

#Save current Network Rule Collection to a variable for reference
$oldcol = $afw.NetworkRuleCollections

#Get the IP Group I want to use
$ipg = Get-AzIpGroup -Name wda-group1 -ResourceGroupName rg-wda-afw

#Create my new network rule
$newrule = New-AzFirewallNetworkRule -Name "rule2" -Protocol TCP -SourceAddress * -DestinationIpGroup $ipg.Id -DestinationPort 445
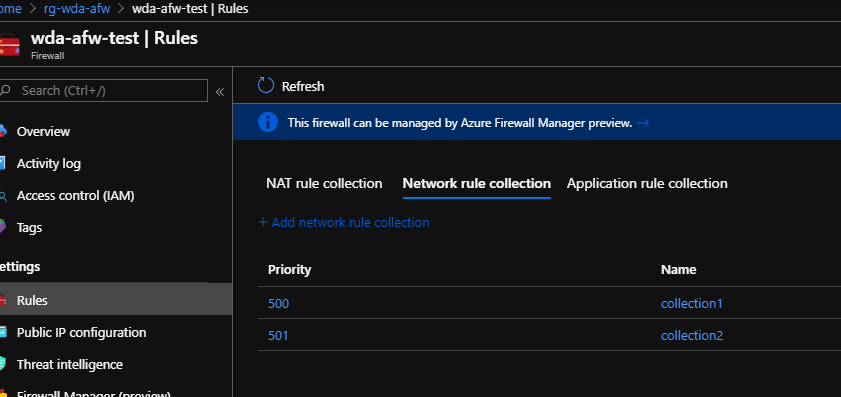
Now this is where it can get a bit tricky. Collections are stored as nested arrays. My AFW has two collections, I want to add my new rule to the second one which means I need to reference index 1. See the collections below, the one we’ll be editing is “collection2” which currently only has “rule2”

#view all collections
$afw.NetworkRuleCollections

#view the specific collection rules using place in array
$afw.NetworkRuleCollections[1].Rules | ft

#add my new rule to my collection
$afw.NetworkRuleCollections[1].AddRule($newrule)

#if you like, check it has updated as desired
$afw.NetworkRuleCollections[1].Rules | ft

#If as expected, update AFW
Set-AzFirewall -AzureFirewall $afw
The last command can take a minute or two to complete. Once it has, you can see the rule is now added to my collection2. The Portal will display it correctly, but you cannot edit correctly with the glitch.


And that’s it! You’ve successfully added an IP Group as a destination to your Azure Firewall. Again, please be careful, the above is only a guide and I cannot be responsible for your Azure Firewall 🙂

One thought on “How to – Use Azure Firewall IP Groups”