When working with Azure, as with many cloud based services, one of the difficulties you may have to deal with is naming standards. Common sense would lead you to applying a single naming convention to all resources. However, in Azure, as the name of the resource can actually be used for many different things, one single convention is quite difficult to achieve. Especially if your convention requires any real degree of complexity.
The most simple reason for having a good naming convention? You cannot rename resources in Azure.
In one of my earlier posts, I discussed the benefits of using the Azure Architecture Center, we visit this again for naming conventions. The general recommendations are as follows:
- Keep it short
- Keep it simple
- Use affixes
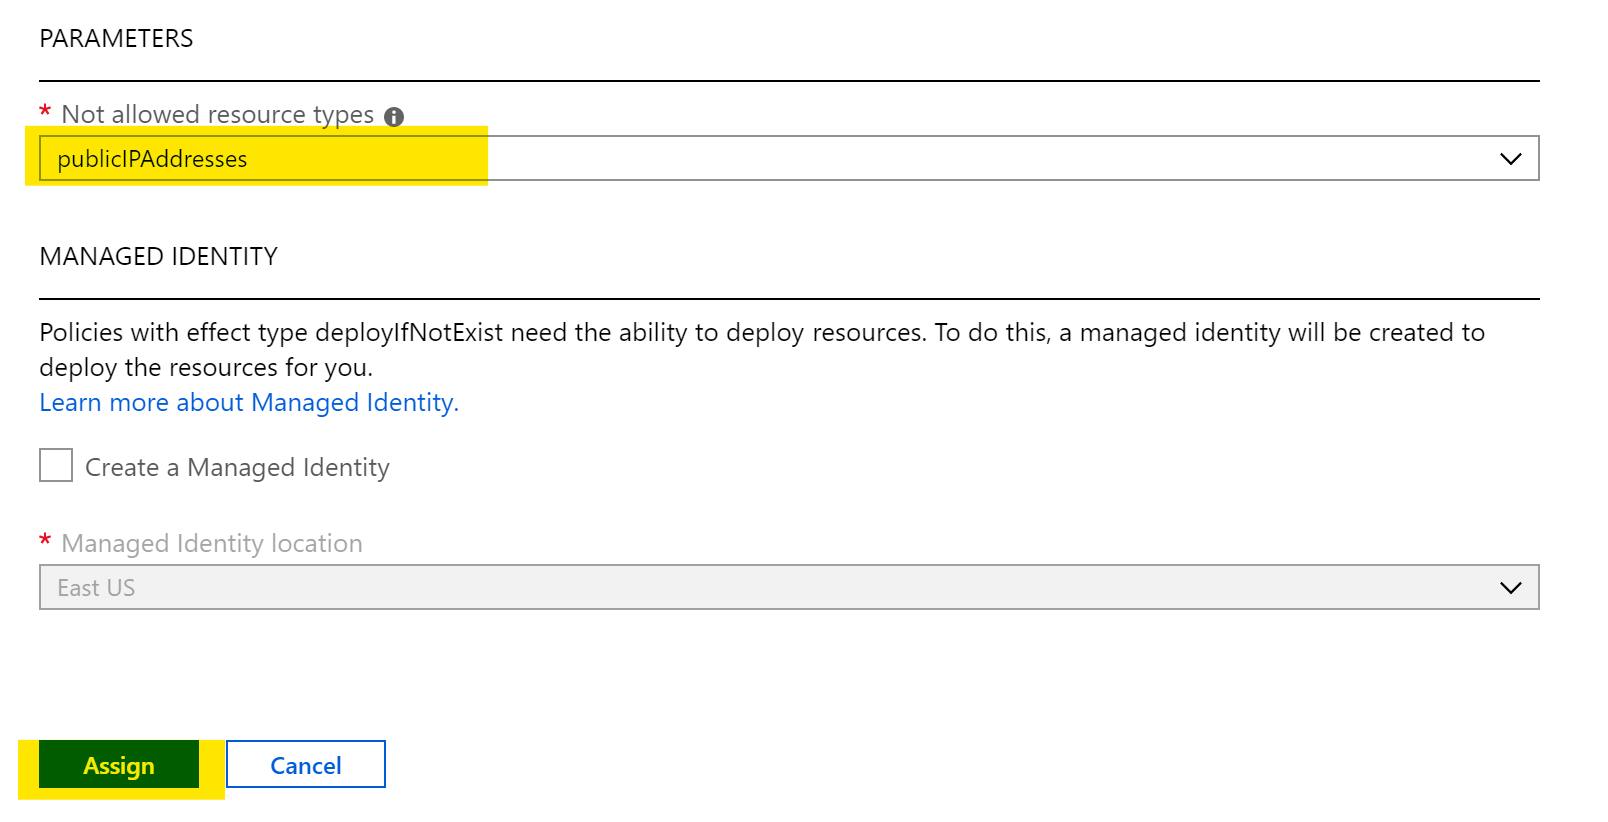
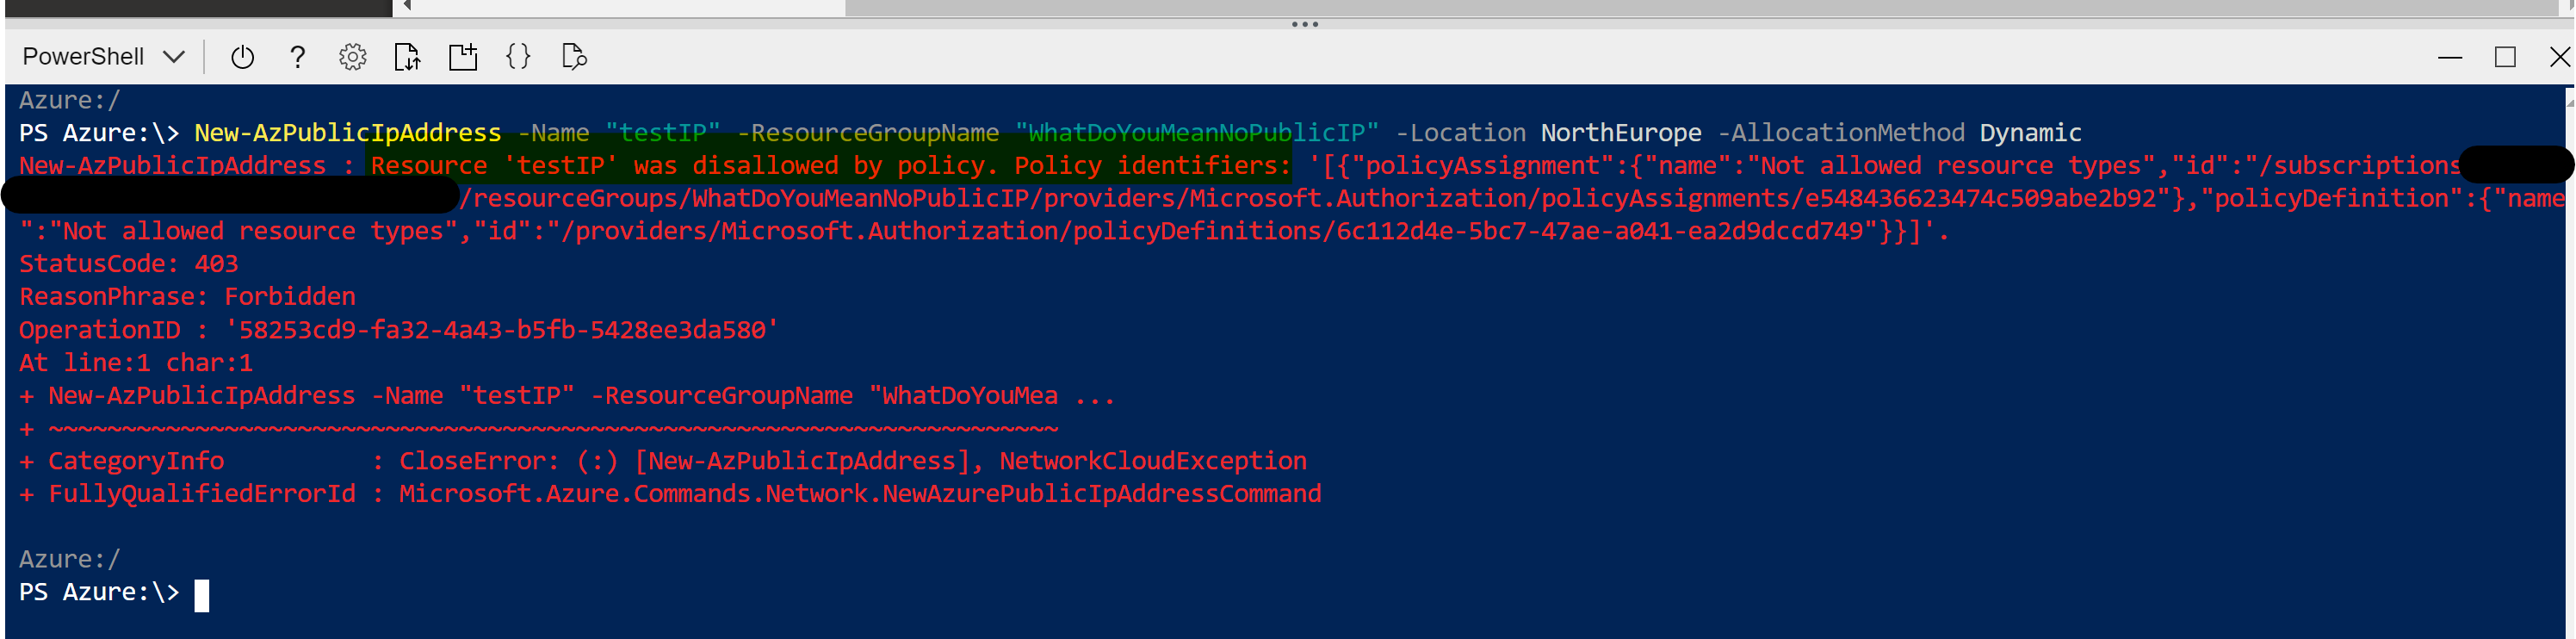
- Use Azure Policy (optional)
- Additional details via Resource Tags (optional)
So let’s look at those in some more detail.
Short and Simple
This somewhat explains itself. However there are technical justifications too. For example, a Windows VM name has a maximum character limit of 15. Keeping it simple allows you to re-use the same logic regardless of resource type, location or service.
Affix some affixes
Where possible, make use of a prefix or a suffix to add clarity to your resource names. the most common are based on environment (prod, dev, test) or instance (A, B, C or 01, 02, 03).
While trying to do the above, make sure to reference back to the matrices of support.
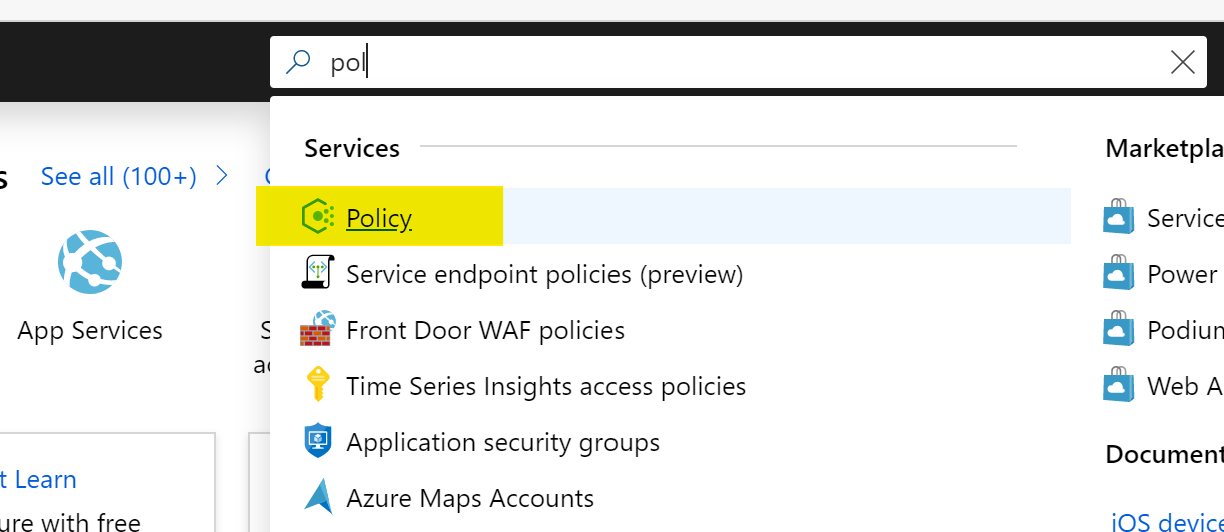
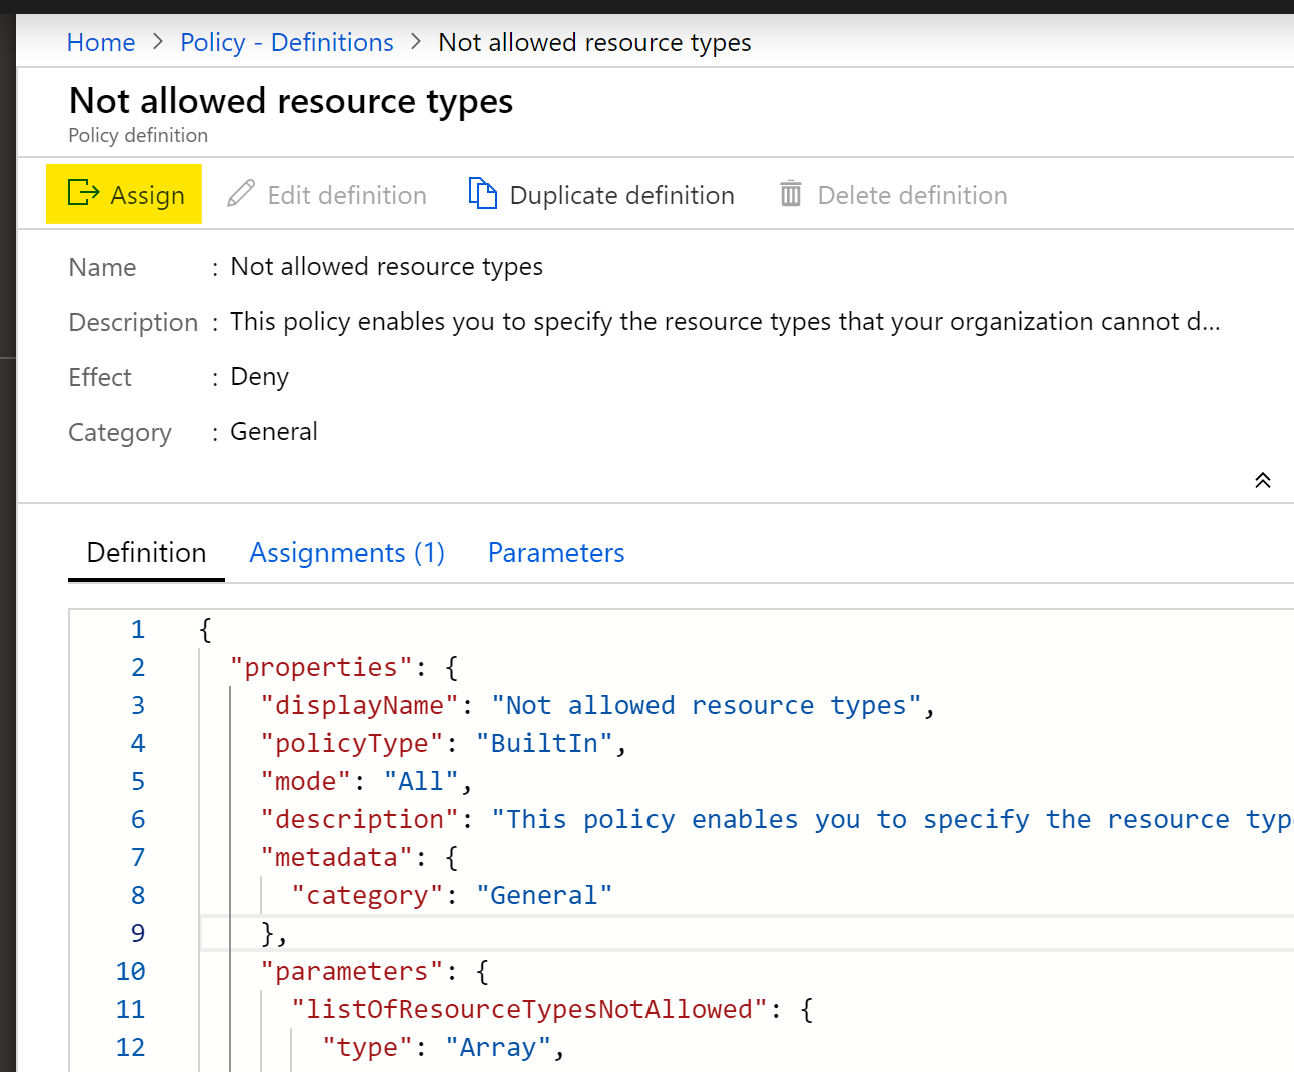
Policy
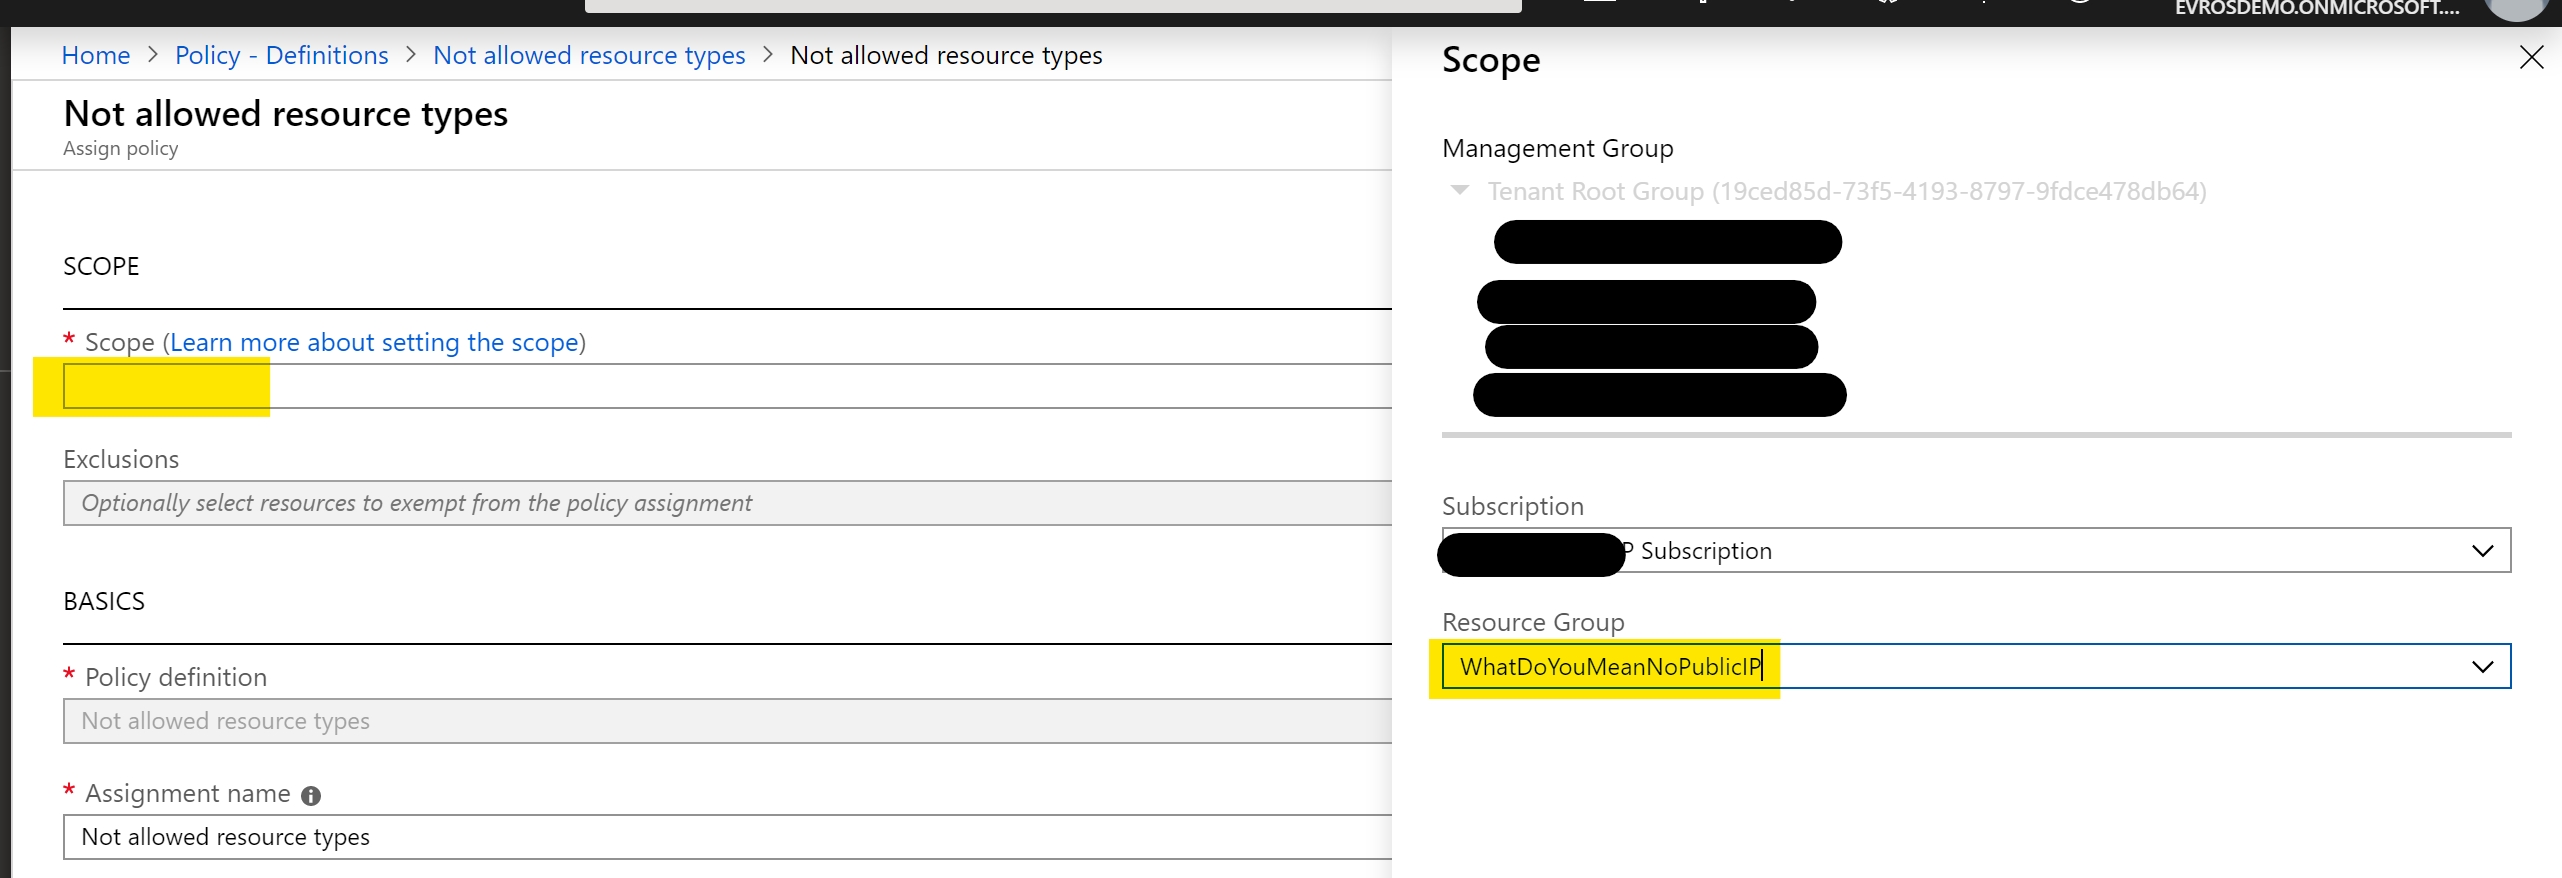
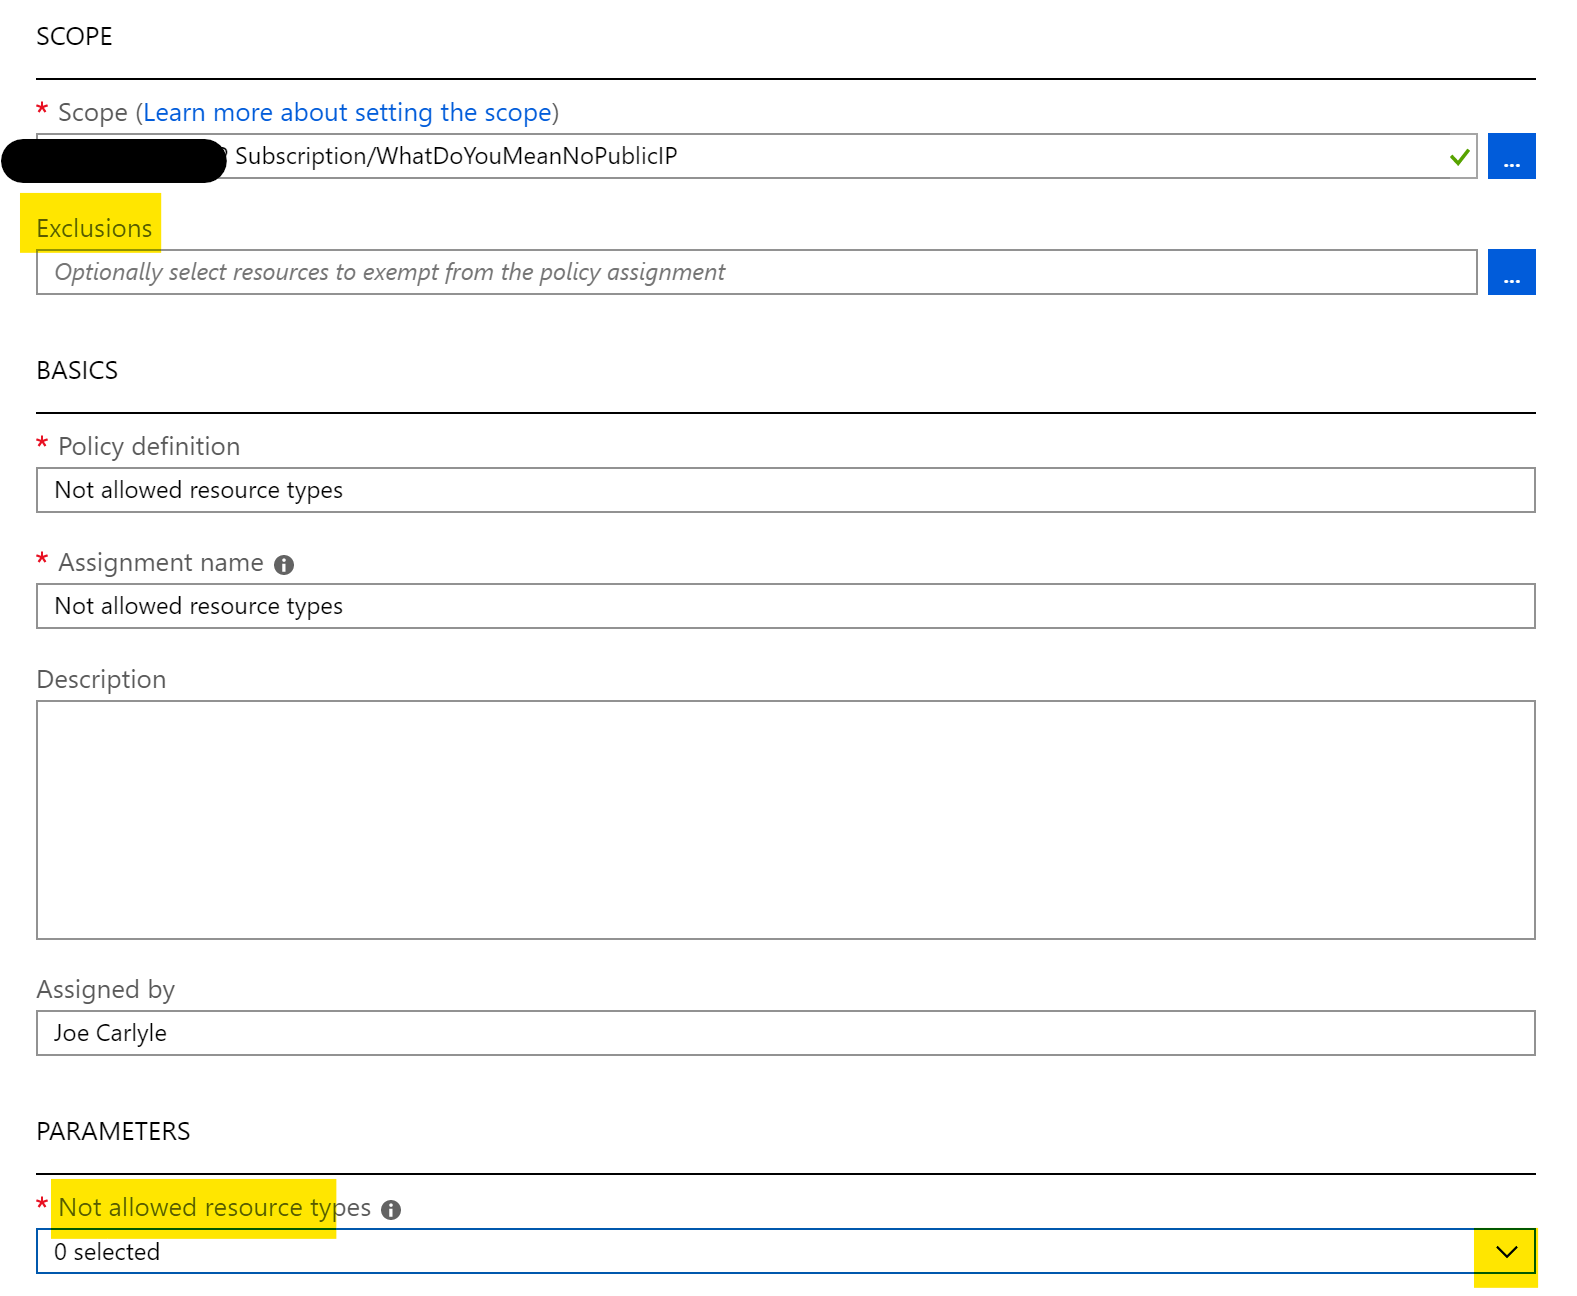
Depending on whether your environment is brand new, or you’re trying to implement some control on an existing environment; applying your naming convention via Policy can speed things up. You can choose all of the usual options when it comes to policy, my preferred method is to create several policies scoped to resource types that deny deployment if naming convention doesn’t match. This avoids conflicts with any auto-deployed resources. Then a catch all policy to audit everything for compliance. An example policy for VMs is below:
{
     "properties": {
         "displayName": "VM naming pattern",
         "description": "Require naming patterns for VMs.",
         "mode": "All",
         "policyRule": {
             "if": {
                 "allOf": [
                     {
                         "field": "type",
                         "match": "Microsoft.Compute/virtualMachines"
                     },
                     {
                         "not": {
                             "field": "name",
                             "match": "az-????-##"
                         }
                     }
                 ]
             },
             "then": {
                 "effect": "deny"
             }
         }
     }
 }
This checks all of the fields listed, so for Virtual Machines, where Name is Not a Match for “az-????-##” then Deny. The match pattern is defined using standard Azure Policy conditions.
Tagging
Tags can form a one to many relationship for resources. Tagging all resources that are part of a project, or have a commonality adds additional metadata to resources without adding increased complexity to your naming convention. Tagging should be viewed as a complimentary option to a good naming convention rather than an alternative. They can also be applied via Policy, saving you time and effort!
As always if there are any questions, or suggestions on how you do naming in Azure, get in touch and I’ll add them to this post!